Showing posts with label paint. Show all posts

Thursday, October 11, 2018

Liz Maidment - Everybody's New Obsession


Liz Maidment of France does the most amazing embroidery.  It is not merely embroidery, she has taken it to a new level.

Nearly everyone in our group just fell in love with her work.  The miniature landscapes overwhelmed us with their twists and surprises.


In the two photos below, I give you an idea of scale by putting my hand over the frame.  
Disclaimer:  My hand is not really that fat looking, I do have long slender fingers that could be piano playing fingers if my parents would have given me piano lessons.


The trees and flowers below are on the same scale as the field above.  Most of her pieces were pretty much this same size.


 This scape below was larger, more the size of a dish towel.  the aspect of minimal stitching really appealed to me.


The ochre colored piece was sort of in between the others sizes.  Liz uses the backgrounds as a major part of her pieces.  The embroidery is what makes the backgrounds come alive.


She uses tiny bits of fabric pieces to make the flowers and animals come alive against the stitching and the backgrounds.

I commented that in the whole exhibit, there was probably not a complete yard of fabric!

Now I need you to continue to look at the photos and I will show you my idea at the end of the post.  You will find it......uh...…...interesting.


 Ok....here you are at my attempt to recreate the background.

I sent off to Amazon Prime to get a Paint Atomizer.  It consists of two pipes set in an L angle.  the negative pressure of blowing though one pipe draws up paint through the other pipe and sprays the paint on the board.

There is a pretty steep learning curve with the equipment.

Yep, pretty steep.

I got everything set up to blow paint on the background fabric.  I tore newspaper for the masking material.  And dipped the pipette into the paint.

And blew.

Nothing.

Harder

Nothing.

I changed the angle on the paint atomizer, and blew.

Nothing.

Harder.

Nothing.

Changed the angle again.

Blew.

I nearly passed out from hyperventilation.  Really.  I had to sit there on the driveway with my head reeling while I recovered enough to continue living.


Nothing.

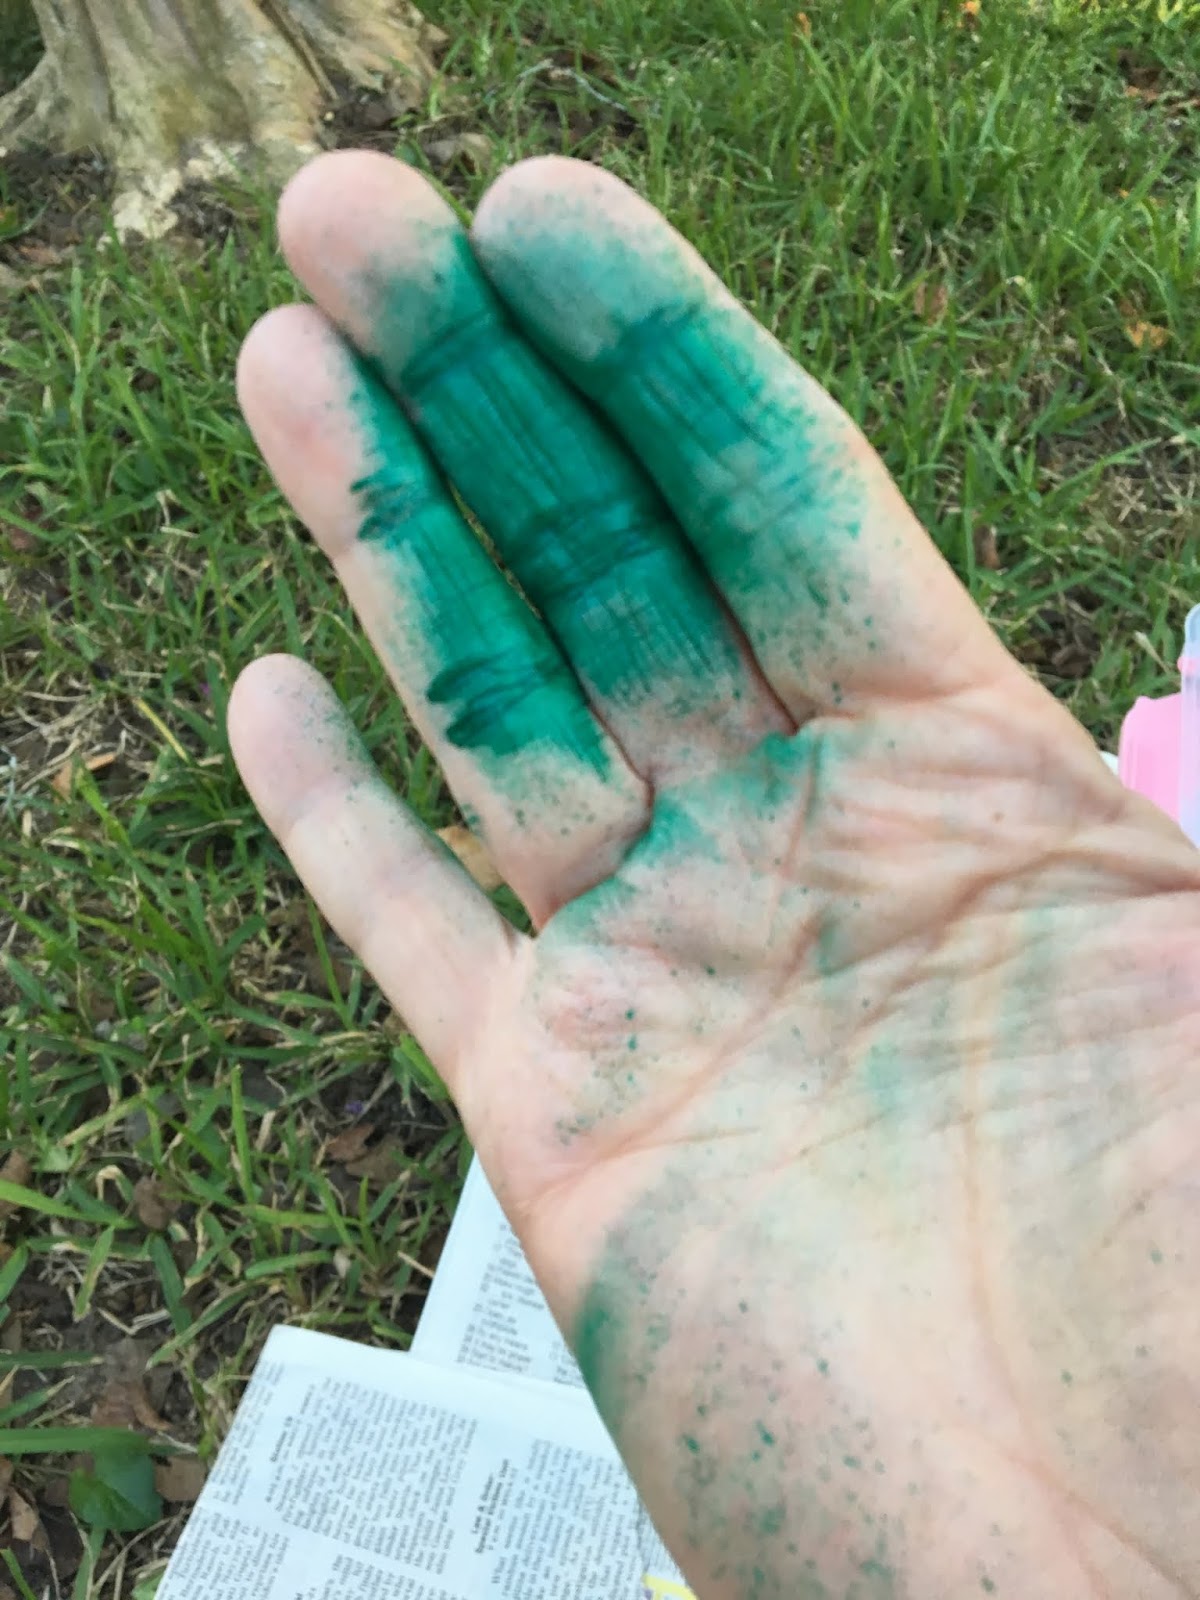
So I put my hand up in front of the pipette, and blew.

And blew a startling blast of green paint on the entirety of my bare palm.

So now I had the blowing part (partially) figured out, I had to get the control part figured out.

See that big blob of green?  That was my first blow, a bit of over doing it.  I worked out a system of blowing a few spirts and then recovering from hyperventilating, blowing a bit, hyperventilating a bit.


Right.  I realized at this point that I had purchased green, purple, black, white and yellow paint.

Not blue.

I guess I wasn't planning on any skies...…...right

That is OK, I need a lot more practice.  And better lung capacity.

But it already looks way cool as a new medium to use as a backgound.

Right?


Saturday, November 4, 2017

What Kind of Paint?


In the last post, Leaf Printing,   you wanted to know what I used to print the leaves.

Ding, ding, ding, ding!  The winner is........Carol!  Yes I used the cheap Michael's acrylic paint!  I didn't think about putting fabric medium in there.  The paint was thick and I did consider adding a touch of water, but did not.

Now I want to do some leaf printing and put together a quilt.  For the time being I will work on a few notebook covers.

I am going to be so busy tomorrow with Santa CAAWS so I will leave a post for you.  Right now I  will tease you with a bit.

What technique did I use?  See if you can figure it out.


Saturday, May 23, 2015

Saturday is a Very Productive Day!

 We got the walls painted with the primer coat of Kilz.  Since it was bare sheetrock it needed to be primed first before the actual coat goes on.  Now that I had a man with good knees, he got all the high stuff and I got all the trim and baseboards completed. 

I wont be sure which color is going to go on the walls until I get the cabinets done. 

 I took the doors off, not easy to do since it has been on there for 31 years.  My wrist is sore from unscrewing all those tiny but tight screws!

I used Liquid Wood to fill in all the holes where the knobs and toilet paper holder was.  It has all been sanded so I am ready to paint the cabinets tomorrow.


 If you ignore my messy closet, you can see the shelf Frank built in.  It was the door to the laundry chute and lifted UP.  We never used it since it made the laundry sit in a dark place with no circulation of air.  And that is never a good thing!

I had the idea to make the linen cabinet look like a piece of furniture with an open shelf.  I need to go to Habitat For Humanity's ReStore on Tuesday to see if they have a cabinet door that will fit. 

I want to have a glass door on the top area.  I could leave it open, but I would have to be neat.  I could put the old door back up.  Or I could use some embossed wallpaper and make it look like a tin panel inserted in the door. 

In preparation for the trip to ReStore, I put  all the old hardware into baggies with their right amount of screws.  I will donate all the stuff, like that extra door I am no longer using and the curtain rods I won't put back up.

When we were at Lowe's this morning getting the wood for the shelf, I looked at the embossed wallpaper, cabinet hardware and handles and cabinets to see if they would sell just one door. 

Not sure about the door thing, but I am pretty sure I can find SOMETHING at ReStore.  I'll show you what an amazing place it is! 

Right now, i am going out to dinner with friends at the fabulous Thai place we love!


Saturday, January 4, 2014

SetaColor Tutorial

I am hoping there will be Sun Prints anyway, there isn't much sun out there.  I have been waiting for a day with some sun and I am running out of days.  I need to get this project going so I have some time to quilt it.

What I am doing:

making a sun print for the Fiber Group Jan 14 Challenge: Herbal Resist

I couldn't come up with anything and Carol from Quilted Fabric Art (go check our her threadpainting of her dog Summer's sister, Spring!  Of course!).....what was I saying now?  Oh, Carol aka Landscape Lady, suggested a sun print.

Perfect!  I got out my SetaColors and chose a fat Quarter I had hand dyed last year or maybe the year before.  It is a light pink.  I was not really loving the lightness of the color.  I took the Oriental Red for the SetaColor paint.  SetaColor is an easy thing to use.

this is what Dharma says about SetaColor from their website:

"This is one of the most versatile fabric paints we carry. It also has the softest hand on fabric of any opaque or metallic paints we have tried. The thinner Transparent is even softer and can be used on the finest fabrics.

Transparent Setacolor is the paint of choice for Heliographic fabric art - yes, SUN ART. Lay your fabric down outside and sponge on diluted Transparent Setacolor in whatever color patterns you like. Then lay feathers, lace, netting, leaves, precut cardboard, flowers or anything on the fabric and let the sun do the rest. The objects you put on the fabric will leave their impressions. "

Then I found my cement backer board and cleaned it up.  It has been sitting outside since the Great McGee Eats The Scarf Episode.  I needed it for the paint base.  

I taped the fat quarter to the board with painters tape.  McGee had  

I diluted the paint about 2 to 1 with 2 water to 1 paint.  And painted it on with a sponge brush.  oh, first I wet the fabric with a light layer of plain water using the sponge brush.  I had a ton of paint  left over so don't use a whole lot of paint from the bottle.  I used the rest to dry brush on the other side of the FQ.  Photo later in post.


Here it is finished.  The paint part anyway. I like the color.  We shall see what happens in the end.  

 I needed herbs  So I went outside to find some.  I have bay leaves, parsley and weeds.   I  chose the weeds!  LOL.  Actually it is dandelion leaves.  

I tried to lay  them in a nice composition.  I  am not used to working like this, so I was considering balance and appearance when I placed the leaves.  

When I liked it, I pressed the leaves into the wetness of the fabric.  I am not sure if it will stay, I  probably could have pinned them down.  I am guessing that this will make a difference in shadowy edges and sharp edges.  I will most likely have shadowy edges.  Fine for now.  I ordered something fun for later though!
Here is what the whole FQ looked like.  Both sides.  And on the way out, I decided to tear some paper into small strips and lay it on the new side.  

When I finished it sort of  looked like a Chinese character.  I can do some work with that in the next project.  Can you enlarge the last photo and see the paper.  I don't  see any wind out there, so  i assume it will stay on there!

Here is the board laid out in what passes for sun today.  Althouh right now, the sun is shining well.  Hopefully it will print.  I am going to leave it out there for a full hour.
Oh, and it is not anywhere McGee can find it.  It is in the driveway, not the back yard!!!
I will post later about the results.
It was fun!  Want to try it?

UPDATE:  i just checked on it at about 20 minutes, and the paper has blown away but the dandelions are MARVELOUS!  It is looking real ombre like